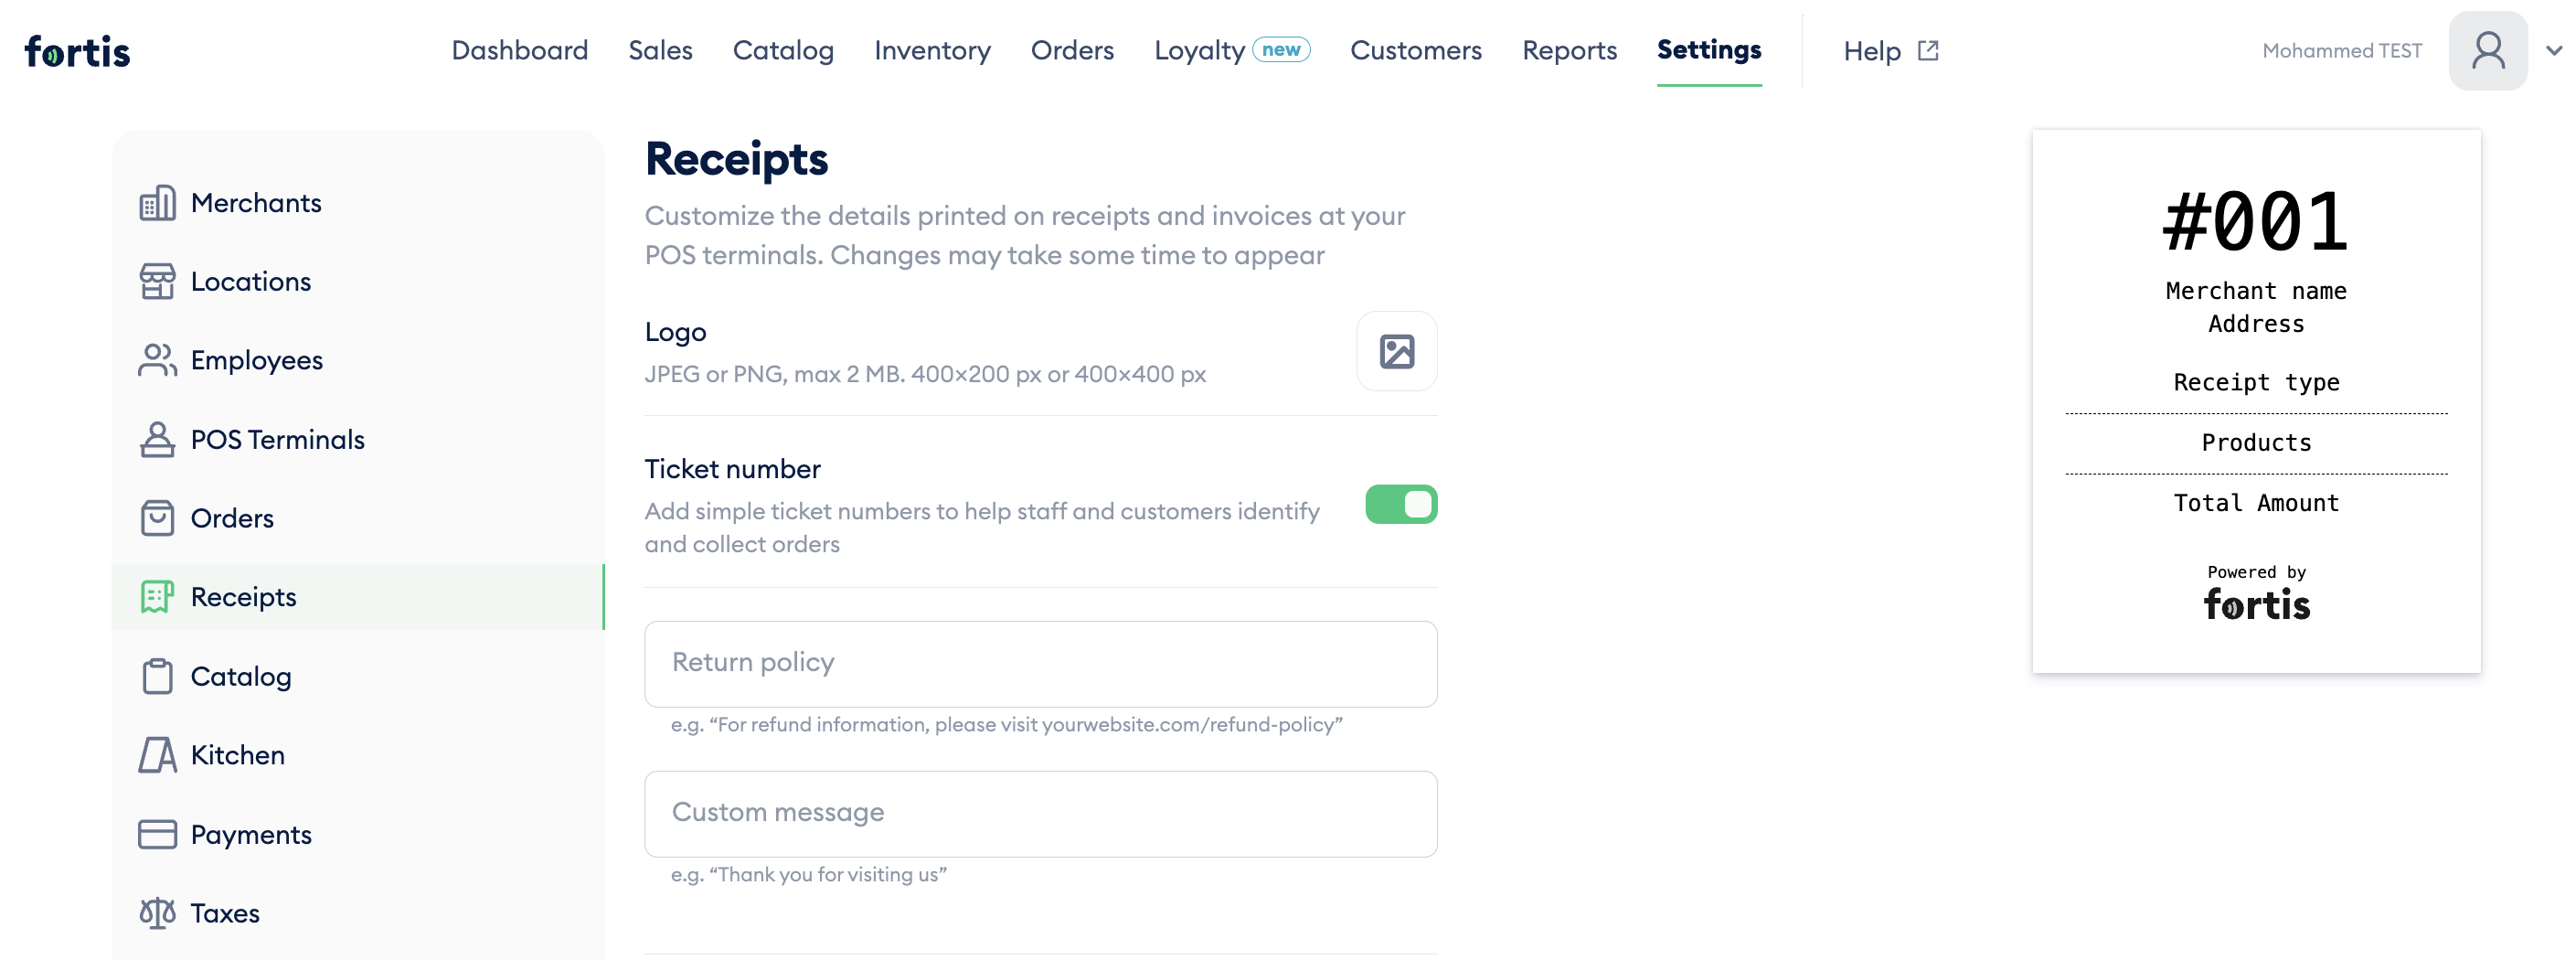
Customize the details printed on receipts and invoices at your POS terminals.
Receipt customization is managed through the Merchant Portal. Navigate to Settings → Receipts to access the customization options.
Adding a Logo
Upload your business logo in Settings → Receipts → Logo. The logo will appear at the top of printed and digital receipts. (Recommended: JPEG or PNG, max 2 MB. 400×200 px or 400×400 px)
Adding ticket number
Enable simple ticket numbers to help staff and customers identify and collect orders more easily. You can enable this feature using the toggle button.
Adding a Refund Policy
Enter your refund or return policy in the text box named "Return Policy". This text will be printed at the bottom of every receipt. (Keep it a 1–3 sentence summary)
Adding Custom Information
Use the Custom Information field to add any additional text, such as a thank-you message, social media handle, or promotional note. This appears in the receipt footer.
Why Customize Your Receipts
- Brand consistency: Receipts with your logo look professional and reinforce brand recognition at every sale.
- Customer transparency: Printing your refund policy on receipts reduces disputes and builds trust.
- Marketing opportunity: Use the custom message area to promote your loyalty program, next visit incentive, or social channels.
- Compliance: Include any business-specific disclosures or regulatory information your industry requires.